Tilovia Game Guide
Every system in the game — farming, the town, the mine, artifacts, guilds and settings — in order and in plain language.
Getting started
What is Tilovia?
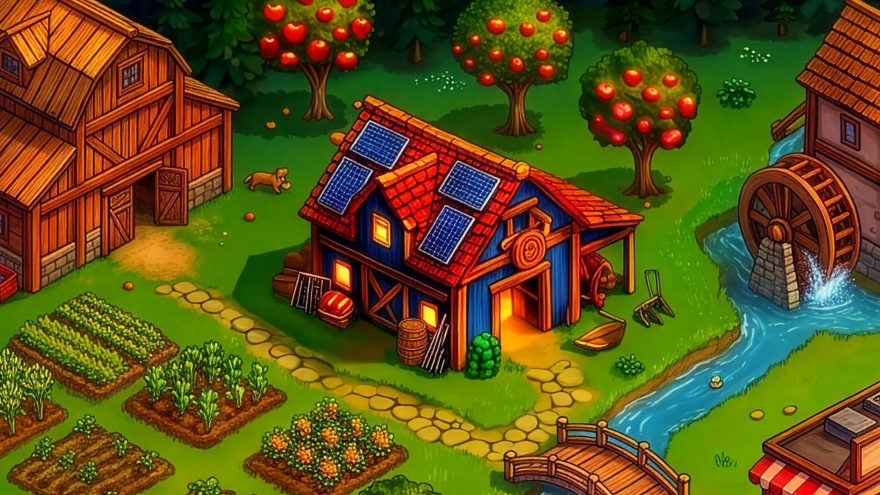
Tilovia is a farming game you play at your own pace. You have a field, a few planting beds and a house; you grow crops, sell the harvest in town, and use what you earn to grow the farm.
Two things set it apart from similar games: no timers rushing you and no energy bar to drain. What you plant grows in its own time; you come back whenever you like.
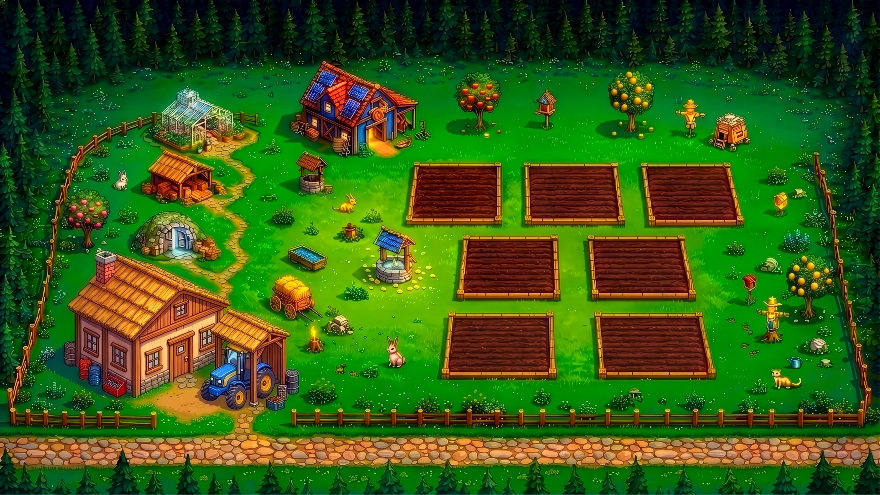
- The farm — where you plant and harvest.
- The town — where your crops turn into money.
- The mine — where you swing a pickaxe for ore and artifacts.
Getting started
Plant your first crop
The dark, wood-framed rectangles on the map are planting beds. Each bed is divided into plots, and every plot can hold a different crop.
Tap a plot. The seed tray opens at the bottom of the screen; pick a seed and tap the plot. Drag your finger to plant several plots in one go.
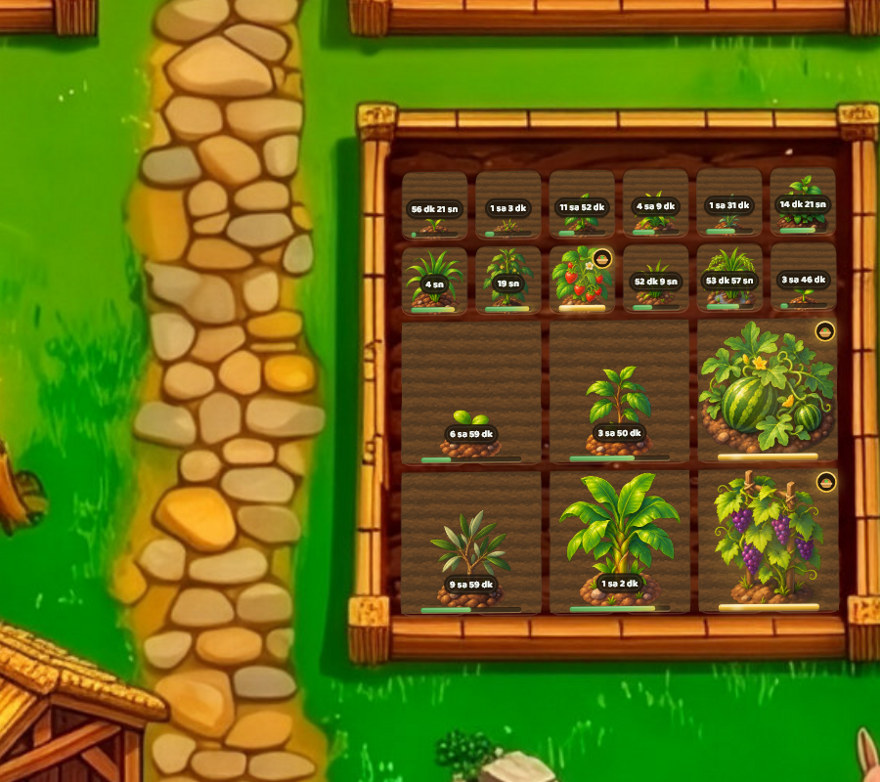
A golden marker appears over a ripe crop. Tap to collect it — harvest never spoils while it waits.
Getting started
The seed tray
The tray shows the seeds you can plant right now. The selected seed is framed in gold.
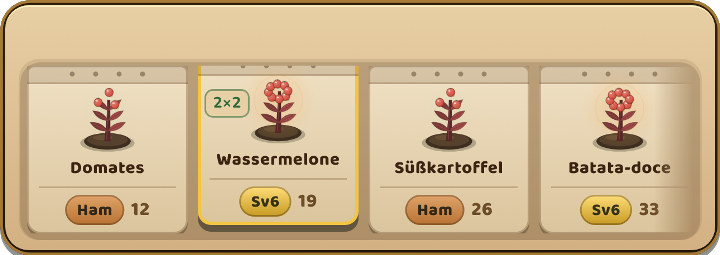
- Count — how many seeds you have left. Buy more at the seed shop.
- Area — some crops (watermelon, grapes) take up several plots; the card shows this as 2×2 or similar.
- Level — locked seeds unlock as your level rises.
You can close the tray; a small handle stays where it was, and tapping it brings the tray back.
Getting started
Growth, harvest and the pantry
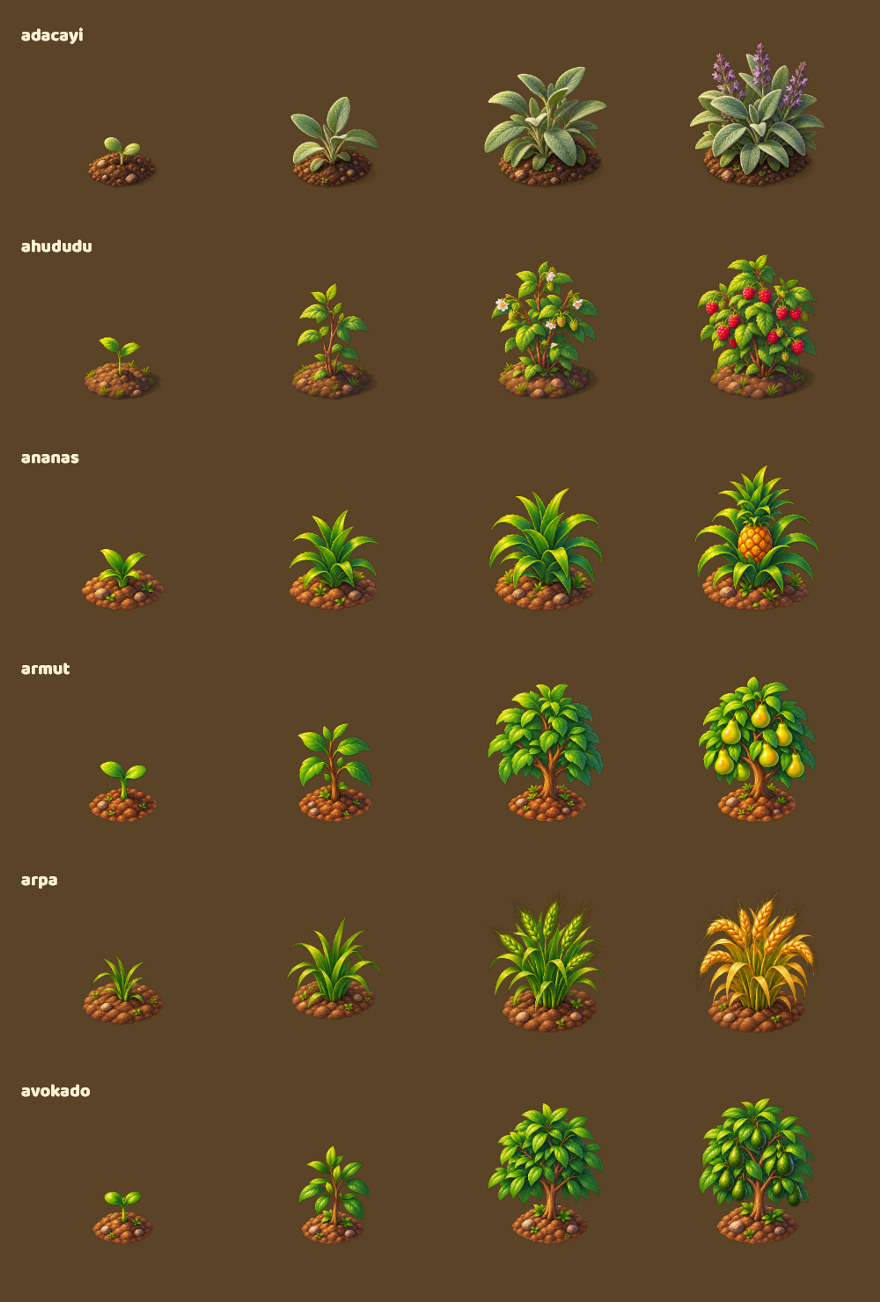
Every crop goes through a few stages: sprout, growth, ripening. The stages are visible on screen, so you can glance at a bed and know roughly when to come back.
What you harvest goes to the pantry. The pantry is shared by all your farms: wherever you pick, it lands in the same place.
You can also harvest as seeds: instead of produce you get seeds of the same crop, so you can replant without visiting the shop.
Getting started
The top bar: level, coins, diamonds
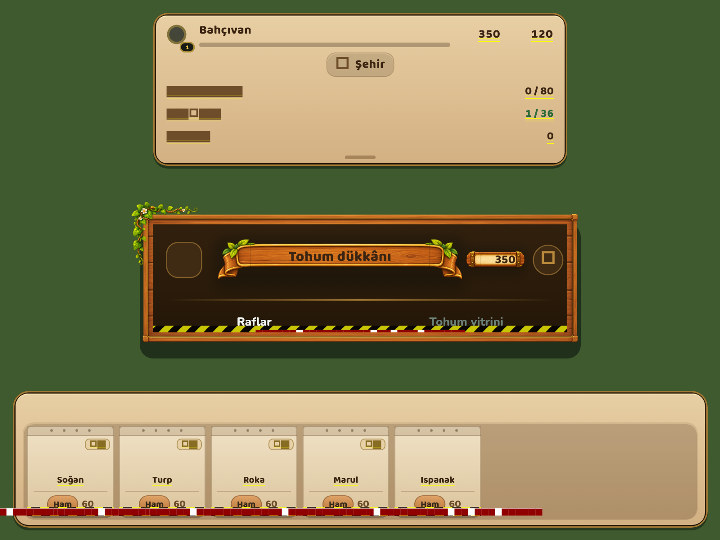
- Level — rises as you farm and fill orders. New seeds, new beds and new features unlock with it.
- Coins — the everyday currency. Seeds, supplies and upgrades.
- Diamonds — the rare currency. Skips waiting and opens some beds early; never required anywhere in the game.
Tapping the bar opens the player hub: profile, avatar, name, active perks and settings.
The farm
Seed shop
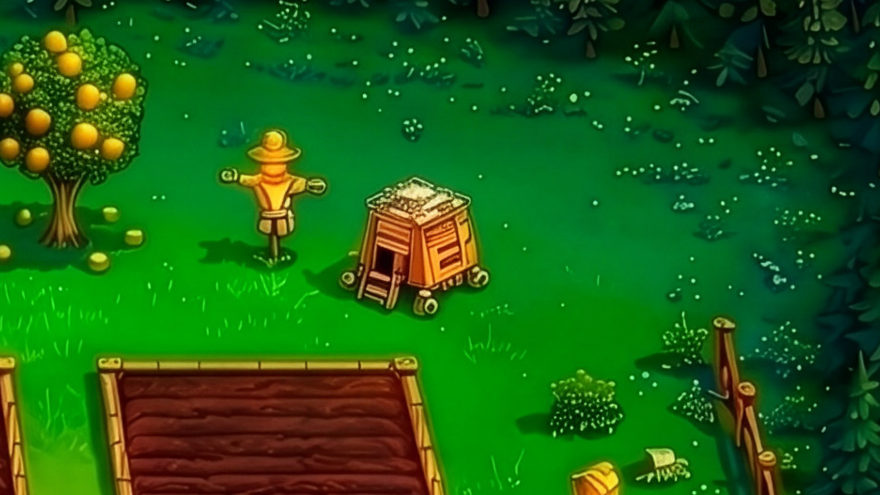
This is where you buy seeds. Each seed has its own growing time, its own yield and a level at which it unlocks. Slower seeds usually pay better — but you wait longer.
You don't have to switch to a new seed the moment it unlocks. Check what the town is ordering and plant for that: a crop nobody wants just sits in your pantry.
The farm
Care: watering and hoeing
Long-press a planted bed to bring up its care actions. Both are free and their effect is immediate:
- Watering — speeds up the crops in that bed. Watering itself is unlocked through Research.
- Hoeing — loosens the soil and raises the yield.
Care applies to the whole bed, not a single plot. Filling a bed before watering it is better value than watering a half empty one.
The farm
Supply shed: fertiliser and pesticide
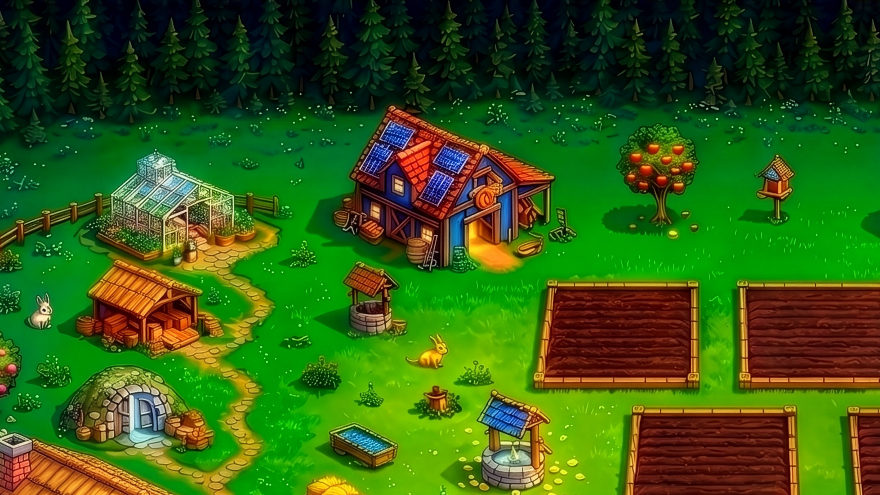
Two supplies are kept here. Both are bought at the town factories and spent on the farm:
- Fertiliser — noticeably speeds up the growth of a planted bed.
- Pesticide — cures a crop that has fallen ill.
When a crop gets sick a marker appears over the plot. Left untreated, that plot's harvest drops; caught early, nothing is lost.
Fertiliser has a natural limit: playing with it constantly speeds the game up, but buying it means selling in town first. The two feed each other.
The farm
Research: make a seed stronger
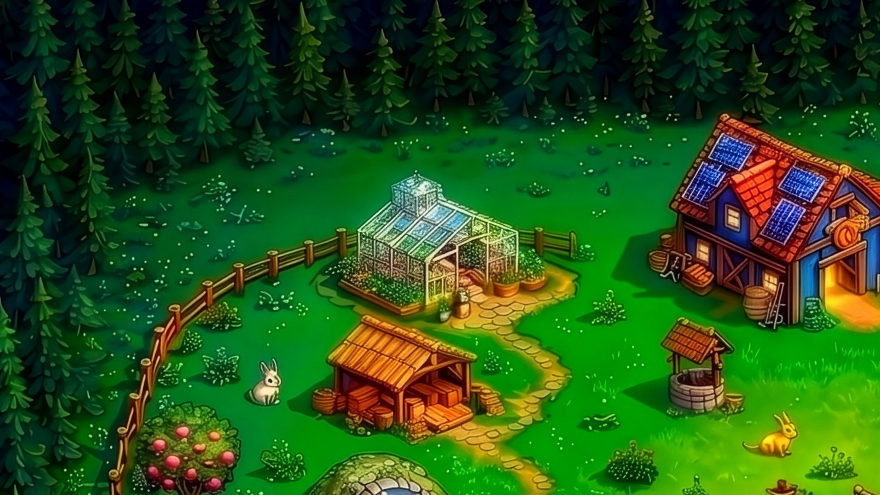
Research permanently improves a seed: the same seed yields more and ripens faster. Every seed has its own research level and a ceiling.
Special research — watering, for instance — is unlocked here too. Those are one-off and apply to all your farms.
Research pays back over time. Researching the seed you plant most returns faster than researching an expensive seed you plant occasionally.
The farm
The tractor
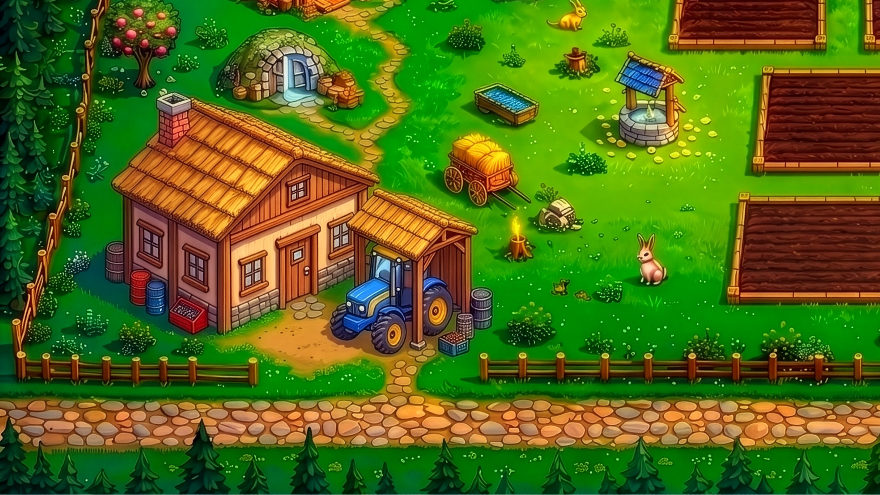
The tractor plants and harvests every plot you drag your finger across. Tapping one by one always works too; the tractor speeds the game up, it is not a requirement.
It is bought once and works on all your farms. If you want to try it before buying, there is a timed trial you unlock by watching an ad.
The farm
Unlocking new beds
Locked beds open one after another. Some open at a certain level, others for diamonds. The bigger the farm, the more you can grow at once.
A bed can only be opened if it borders one you already own. You cannot jump to a distant bed.
Opening a bed also pays a reward, scaled to how hard that bed was to reach.
The farm
The house: your collection
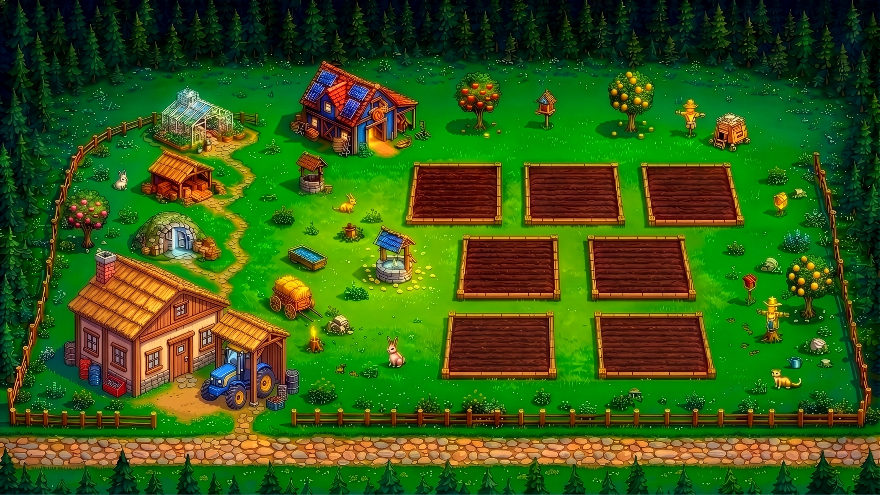
The house holds your collection. Historical artifacts from the mine and the monument live here, and each one gives your farm a lasting boost — faster growth, bigger yields and so on.
The farm
Several farms and the truck
As your level rises you can open new farms. Each has its own beds; the pantry, the warehouse, artifacts and the tractor are shared. You can rename a farm.
Switch farms from the signpost button on the map. Which farm you are on is stored on the server: switch on your phone and you're still there on a tablet.
The truck carries your harvest to town. Upgrade it to carry more per trip.
The town
The road and its buyers
A road passes just below your farm. Buyers walk along it and queue up in front of the shop. Each one has a bubble above their head showing what they want.
Tap a buyer to see what they are asking for and what they pay. If you have it, hand it over; they pay up and leave.
When an order can be filled, the bubble's frame pulses green. You can tell from a distance which buyer is ready.
The town
Arriving in town
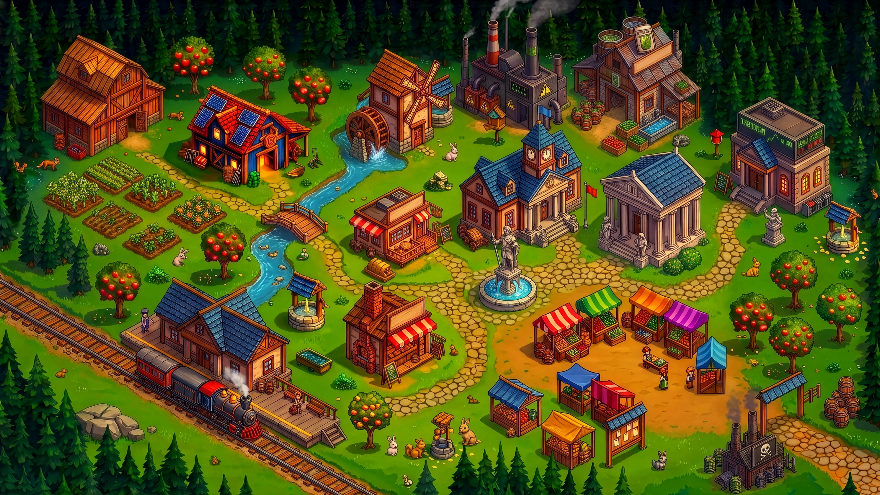
The town at the end of the road is where your crops turn into something. Small badges appear over buildings when there is work waiting — an order to deliver, a wagon to load, a reward to collect.
The town
Businesses and bidding
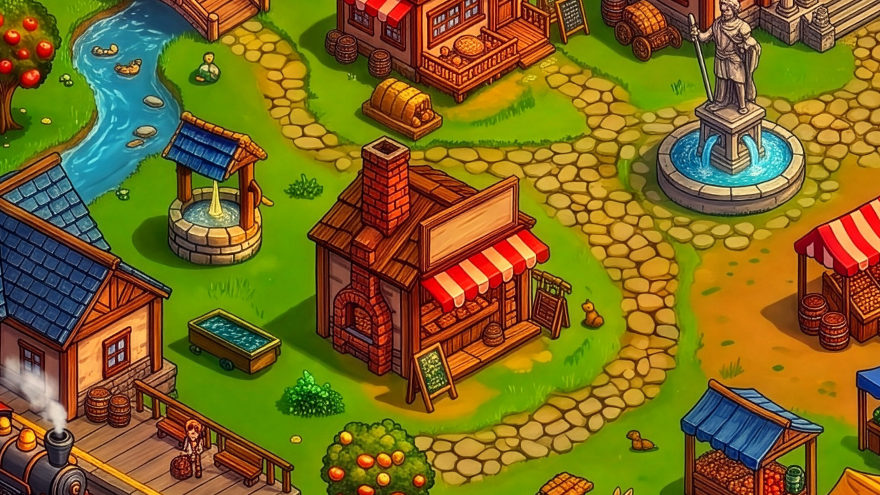
The town has a bakery, a mill, a pickle house, a juice workshop, a restaurant and the fertiliser and pesticide factories. They all order crops from you and the cheapest offer wins.
You post your offer on the order board. While it is waiting you can withdraw it. If you win, the crop goes and the coins come.
The fertiliser and pesticide factories also sell supplies: what goes into your supply shed is bought here.
Bidding very low wins the order but eats your margin. On a scarce crop a slightly higher offer usually still wins.
The town
The produce exchange
The exchange shows what every buyer in town wants and what they pay, on one screen. It is the place to look before deciding what to plant next.
Prices move with supply and demand, but there is a floor: a crop never becomes worthless even if nobody is asking for it.
The town
The bazaar: trading with players
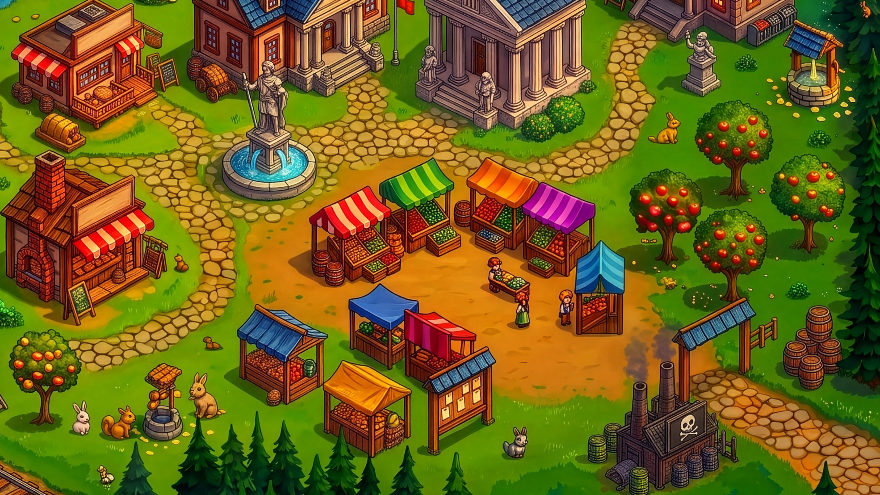
At the bazaar you trade directly with other players: you sell, somebody buys. You set the price.
- Sell — list a crop from your pantry at your price.
- Buy — take from someone else's listing; you see a preview of what you will pay before you commit.
- Cancel — pull back a listing that hasn't sold.
- Collect — money from sold listings gathers here for you to take.
The town
The warehouse
The town warehouse holds what you ship from the farm. You send with the truck and can pull back if you need to.
Its capacity depends on your trader level, which rises two ways: with a large amount of coins (the patient way) or with diamonds (the fast way). Both give the same level; diamonds only buy time.
The town
The station: the train
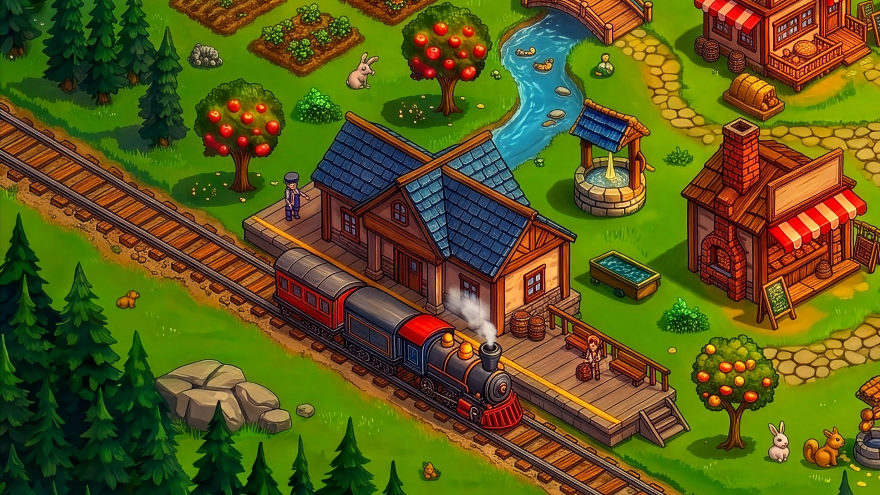
The train arrives at intervals and its wagons wait to be loaded. Everyone loads, everyone shares the reward — you don't have to fill it alone.
Your share matches what you loaded, so even one wagon at the last minute is not wasted.
The town
Town hall: missions, streak and rankings
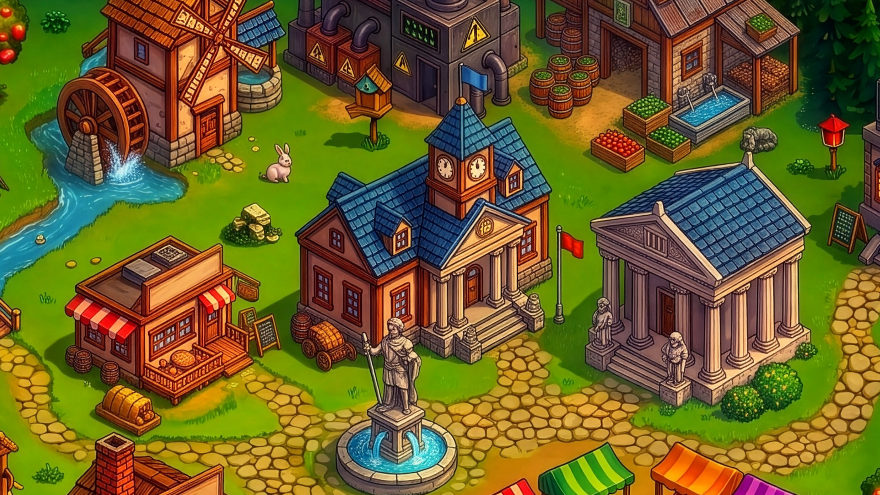
The town hall is where the town's administration lives: daily work, rewards and rankings all gather here.
- Daily missions — small goals, small rewards. You collect the reward yourself once a mission is done.
- Login streak — every consecutive day you play grows the streak and pays a streak reward. Miss a day and it resets.
- Rankings — two separate boards: score and lifetime coins earned (production). There is a guild ranking too.
- Weekly — the payout for everything you built up over the week.
The town
Guilds
A guild is a group of players who finish goals together. You can apply to an existing guild, accept an invitation, or found your own with diamonds.
- Donate — put crops or coins toward the guild's shared goal.
- Level — as donations add up the guild levels, and everyone gains.
- Aid request — ask guildmates for a crop you're missing; the sender gains too.
- Ranks — leader, officer and member. Officers accept applications and send invitations.
- Settings — the guild's name, emblem and joining rules belong to the leader.
You can leave a guild; as leader you can transfer leadership or disband it. Disbanding cannot be undone.
The mine
Entering the mine
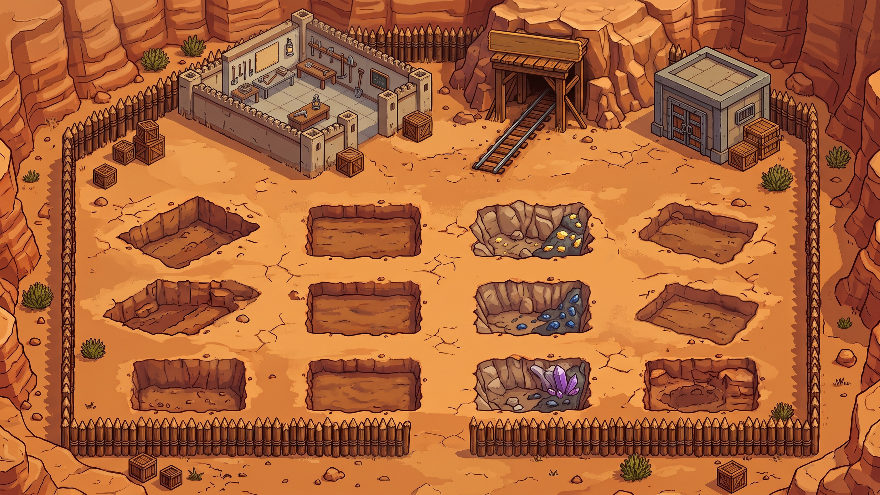
Beyond the town lies the mine. There are no fields here; you have a pickaxe and you dig. You also see the other players digging at the same time — the mine is a shared place.
The shafts and the tunnel mouth are scenery; the work happens in the open yard.
The mine
Digging
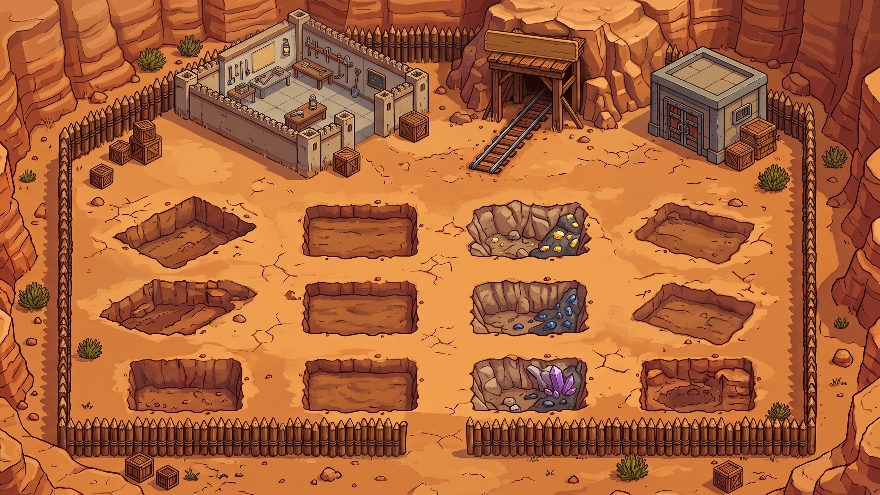
Tap the ground to dig. What can come out:
- Precious ore — the raw material for crafting at the monument. Spare ore can be sold.
- Artifact fragment — the second raw material for the same craft.
- Historical artifact — coming out whole is rare and purely luck.
The dig area refills over time; a spot that has been worked out comes back a little later.
The mine
Pickaxes: buying, repairing, equipping
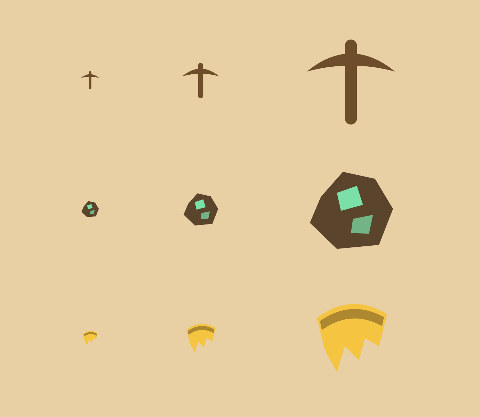
Every swing wears your pickaxe down; when durability runs out you cannot dig.
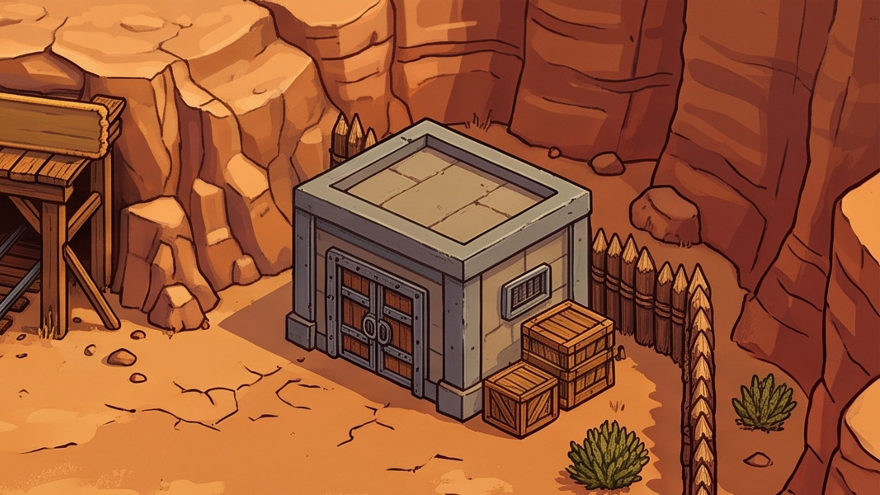
- Repair — restore a worn pickaxe with coins.
- Buy — stronger pickaxes wear more slowly and dig better.
- Equip — if you own several, choose which one you're using.
Historical artifacts
The monument: crafting artifacts
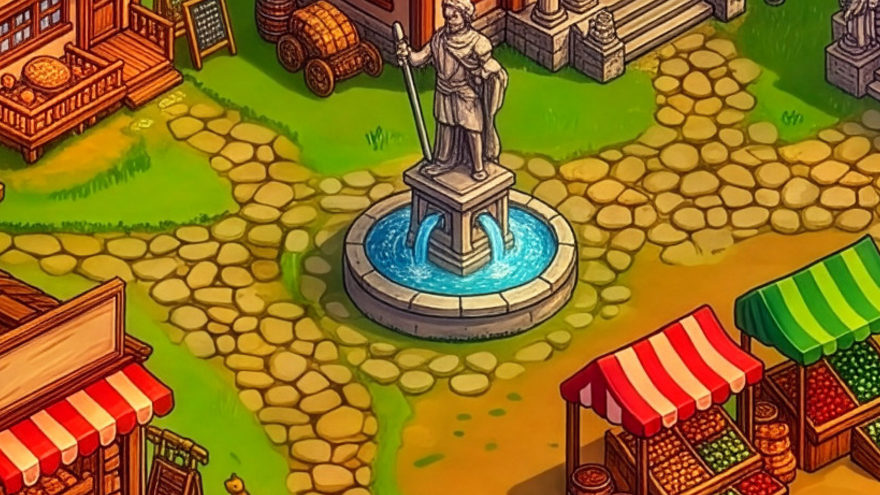
At the monument on the square, the ore and fragments you dug up become a historical artifact. Which one you get is luck; a quality card improves those odds.
The moment you craft, the whole town sees your sparkle — crafting happens in full view of the square.
The odds are written out inside the game. You are never asked to craft without knowing what can come out.
Historical artifacts
Perks: what an artifact does
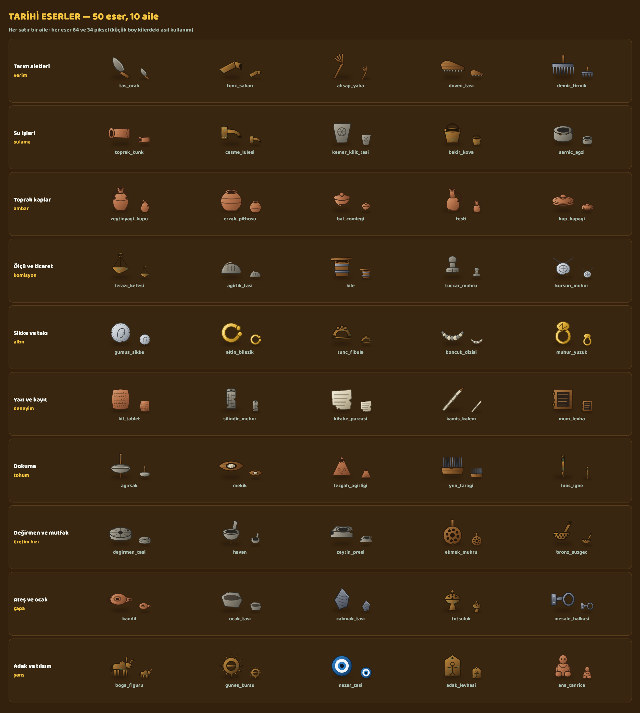
Every artifact carries a fixed perk: a lasting contribution to your farm. It applies as long as the artifact is in your collection, and there is no display limit — they all work at once.
The in-game screen shows each perk's base value and effective value separately, so you can see where the contribution comes from.
Historical artifacts
The museum: collect, upgrade, sell
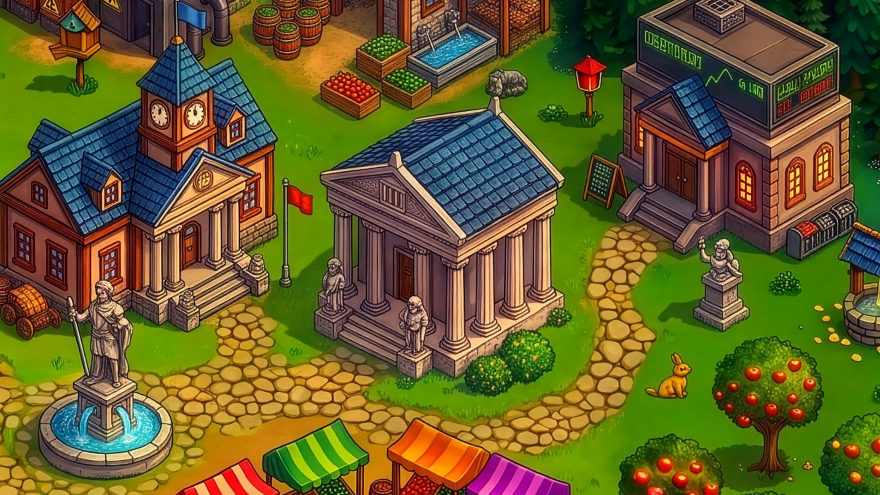
The museum lists every artifact: which ones you have found, which are missing, and what each is worth.
- Collect — add an artifact you found to your collection.
- Upgrade — spend duplicates of the same artifact to strengthen it; its perk grows.
- Sell — turn an artifact you don't need into coins.
Check upgrading before selling: a second copy of an artifact is usually worth more than its sale price.
Social
Friends
You can send a friend request by player name or by the id on a player card. You accept or decline incoming requests, and you can remove a friend at any time.
Social
Player cards and visiting
Tap a player's name in the rankings, in chat or in your guild to open their player card: level, avatar and score. From the card you can visit their farm and see what they are growing.
Visits are look-only: you cannot change anything on someone else's farm.
Social
Invites and promo codes
Bringing other people into the game pays you back; there are three separate ways.
- Invite — share your own invite code; when a new player joins with it, you both get a reward.
- Referral — you can enter the code of the player who brought you into the game, once.
- Promo code — codes handed out in announcements can be redeemed for rewards.
A referral code is entered once and cannot be changed later.
Social
Chat, blocking and reporting
The game has four chat rooms. Messages arrive live, and the bell is marked when something is unread.
- Blocking — long-press a message to block that player; you stop seeing their messages. Undo it from Settings.
- Reporting — report a message that bothers you; reports go to moderation.
Account and settings
Creating and linking an account
In a browser, the only thing carrying your identity is the browser's storage — and storage can be cleared. That is why the web version asks you to create an account first: an identity that won't disappear.
In the store version and inside Telegram your identity already exists, so no login screen appears there.
If you started as a guest you can link an account later from Settings — your progress stays exactly as it is, and signing in on another device brings your farm with you.
Account and settings
Name, avatar and server
How other players see you, and which world you play in, are set here.
- Name — what others see in rankings, chat and your guild. The first change is free; later ones cost diamonds and there is a waiting period between them. Names are unique.
- Avatar — the face others see; change it from your profile card.
- Server — your account gets a separate character on each server and progress starts from zero there. Switch servers in Settings.
Account and settings
Shop: diamonds and perk packages
The shop sells diamonds and timed perk packages. Packages speed the game up; none of them is required to play.
Payment goes through your platform: Google Play on Android, the App Store on iOS, Telegram Stars inside Telegram. Your active packages are listed in the player hub.
For anything with random contents, the odds are written out inside the game.
Account and settings
Language
The game speaks sixteen languages. If you haven't chosen one, your device's language is used; if that language isn't supported, the game opens in English.
Change it in Settings. On the web, the language you pick on the landing page carries into the game.
Account and settings
Notifications
You get notified when a crop ripens, when an order is settled, on guild activity and in chat. Tap the bell to see them all and mark them read.
Choose which notifications you want on the notification screen in Settings.
Account and settings
The guided tour
The first time you open the game, a 23-stop tour plays: the farm, the town, the mine and the point of the game. You can skip it at any moment.
To watch it again later, Settings has a “Watch the tour again” row.
Account and settings
Deleting your account
You can delete your account from inside the game, at the bottom of Settings. Deletion cannot be undone — your farms, progress, money, artifacts, friendships and guild membership go with it.
If you have already removed the app you can still delete your account from the web; there is a separate page for that.